Exciting News: We’ve Moved to IDoIDontDesign.com!!!

14 Oct

Thanks to all of our amazing followers, we’ve moved to idoidontdesign.com! I’m still in the process of finalizing the design, as I am a newbie at transfering from wordpress.com to wordpress.org, however, I will finally begin posting on a regular basis again (sorry for the delay).

I hope you like the new design/layout and all of the great things to come from I Do, I Don’t Design!

xo,

Jeffra and Chris

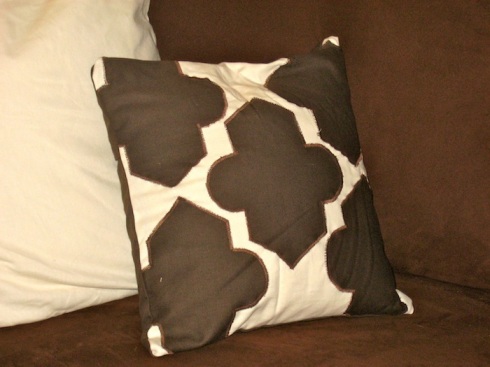
How To DIY: Sewing a Trellis Patterned Pillow

9 Oct

What You’ll Need (measurements are for a 14×14 pillow):

  • 1 yard of Brown Cotton Fabric (cut into a 17×19 square – rest of the fabric will be used for the pattern)
  • 1/2 yard of Cream Cotton Fabric (cut into a 17×17 square)
  • Sewing machine
  • Chalk
  • Scissors
Steps:
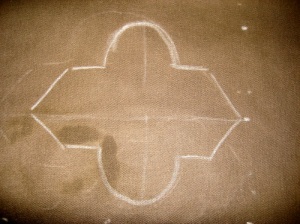
1) Using chalk draw out the shape that you’ll want to sew onto your maine colored fabric. For this particular pillow I drew five shapes that were 8 inches tall and 7 inches wide. The reason you use chalk is because it will wash off easily with water, and doesn’t leave a permanent mark on the fabric.
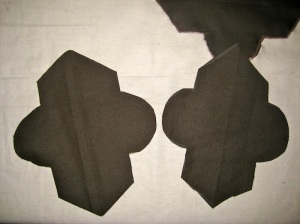
2) Cut out the five shapes. If they aren’t completely even it’s okay, it will be fixed when you sew over the edges.
3) Map out how you want the pattern to look on the fabric:
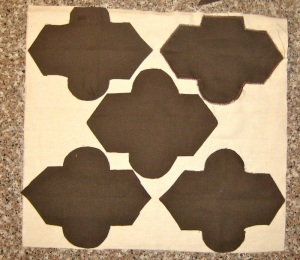
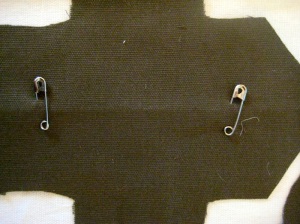
4) Using safety pins, secure each pieces onto the larger fabric. This will ensure your pattern is easier to keep in place while you’re sewing the different pieces on. 
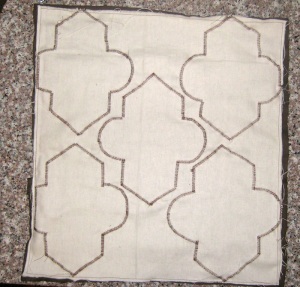
5) Sew all five pieces to the base fabric. You should use a tight zig zag stitch right on the edge of the brown fabric and have it overlap onto the cream fabric. Once you’ve sewn all five pieces, the reverse side should look something like this: (remember this is when your pillow is inside out).
6) Finish off the pillow by securing the back with a sleeve insert. Instructions for a sleeve pillow cover can be found here.

7) Flip the pillow right-side-out and insert your 14×14 inch pillow!
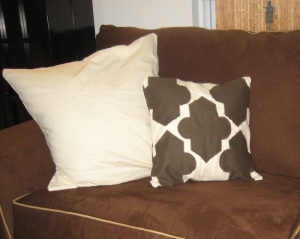
I am so excited about these throw pillows. And although they did take some time to finish, it was completely worth it! Stitching your own pattern makes the pillows look like you got them straight out of a designer store, but only costing 1/4 of the price!

French Inspired: Purple Velvet

7 Oct

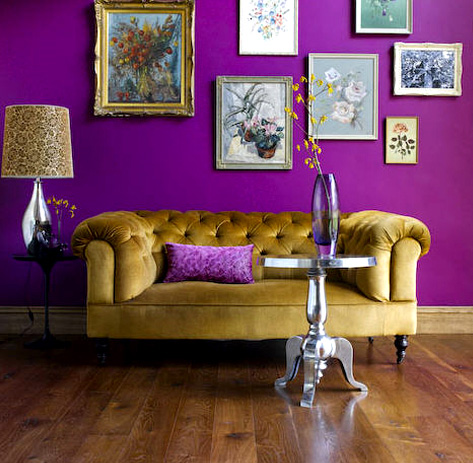
I sometimes wish I could have a room that was solely a place I could hoard amazing furniture that doesn’t go with anything else in the house. My aunt/godmother has two purple velvet chairs, and I LOVE them. Her decor is so eclectic-chic. I had to share these two photos I found today that are for the Victorian French lovers in all of us:

{Photo Sources: vintagerosegarden.tumblr.com | vintagehome.tumblr.com}

The Loss of a Visionary and Creative Genius…

5 Oct

{I Do} Love Pumpkins!

5 Oct

I have a confession (yes another one). I’m obsessed with pumpkins. I bugged Chris the entire ride home from Ocean City last weekend every time we passed a pumpkin patch because I wanted to stop and check out their stock of pumpkins and gourds. I actually had a few uncarved ones on my dining room table last year far past a date that was ok…it may have been December-ish. They were white though – so they sort of went with the Holiday feel…ack!

Okay now that I’ve let that out. Let’s get to the true task at hand – Decorating for Halloween. This is our first year in our new house, with Trick-or-Treaters! What this means is that I have to get serious about what type of decor we’re going to do. Fun and stylish, or really scary. I am leaning towards something in the middle of the two, because ideally we don’t want to scare everyone’s children so badly that we make a bad impression with our new neighbors.

Let’s start with the pumpkin ideas. And please, thoughts and feedback are welcome on which is your favorite:

Glitter, White, & Silver:

Adorably Painted & Polkadots:

Mustached & Funny:

Cute & Traditional:

Monogrammed:

All That Glitters is Gold & Fabulous:

Patterned to Perfection:

Glamorous in Glitter:

{Photo Sources: frugalflourish.blogspot.com | allyou.com | casaetrend.it | 
thecraftingchicks.com | agrablewski.com | blog.tinyprints.com | 
4.bp.blogspot.comtealandlime.com}

Letters in the Home

3 Oct

In some rooms I absolutely love the idea of monogrammed letters, or spelling out a particular word, like “EAT” in the kitchen. Here are a few I found that are fun:

{Photo Sources: brunchatsaks.blogspot.com | sugarandcharmblog.com | etsy.com}

Looks {I Do} Love!

26 Sep

Purple Rooms{Photo Credit: HOUSE BEAUTIFUL}

Rustic-Bedroom-Ideas{Photo Source: eyecandiesblog.com}
Rustic Kitchen Ideas{Photo Source: interioralchemy.tumblr.com}
Bathtub Ideas{Photo Source: dailydivadish.com}

DIY Bedroom Bench from Converted Coffee Table {Part II}

25 Sep

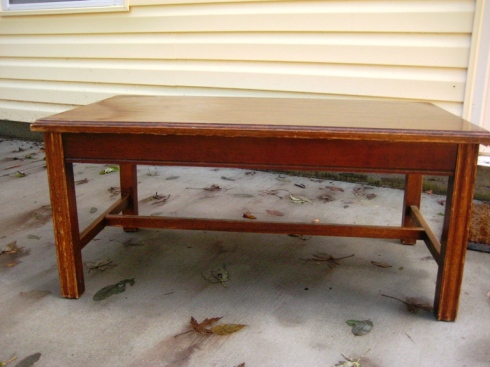
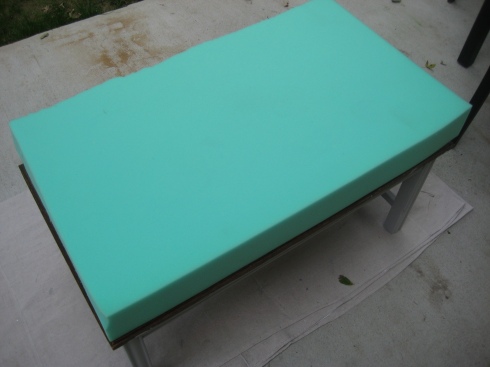
Here is a pic of what I started with, and the first post is here.

What you need:

  • Gray paint (or desired color)
  • Sponge brush
  • 4 Inch Foam that hangs about 1/2 inch over edge of coffee table (we found ours at JoAnn Fabrics)
  • Desired Fabric (I purchased 1 yard for a 36×18 bench)
  • Staple Gun
  • All-purpose permanent hold glue
Steps:
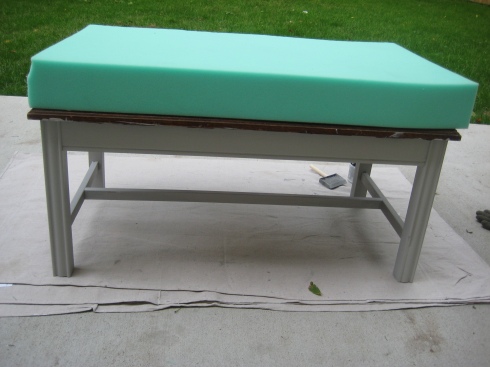
1.) Paint the legs of the coffee table and let dry thoroughly
2.) In a well ventilated area glue the foam to the top of the table and allow to dry for at least an hour (some glues require 24 hours to dry)

3.) Cut the fabric so that there is about 1 inch that hangs over the top of the table (this is what you’ll need to staple under the lip).

4.) Pull fabric tightly at one side and staple two staples; repeat on all four sides.  This will ensure that each side stays even when you secure all of the fabric. Finish stapling all sides of the fabric to the bench.

5.) To secure the corners, fold them in a 45 degree angle under the fabric hanging over on the shorter sides of the bench. The best way to think about this is like you’re wrapping a present.

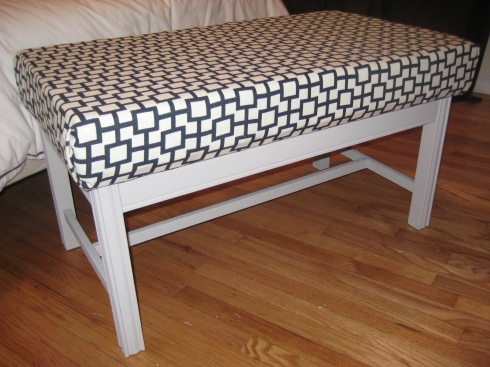
Here’s the final product! I’m so happy with the color!

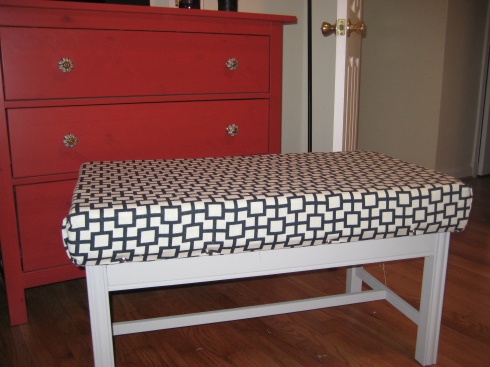
And the fabric looks fab against the red chest of drawers in the room!

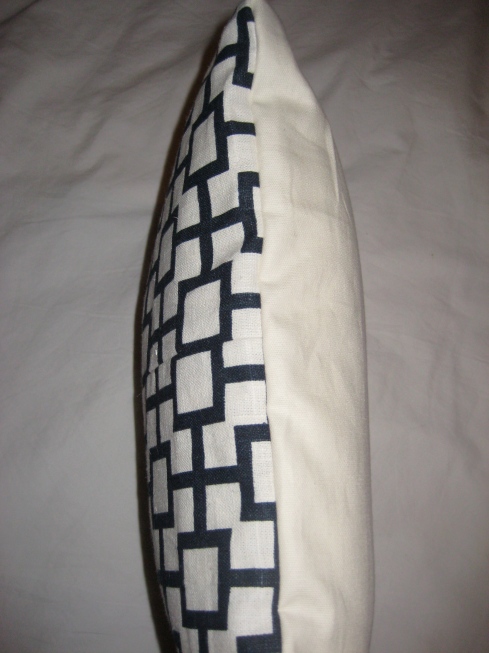
As an added bonus there was left over fabric and I made an accent pillow for the bed. This fabric is Robert Allen, and can be found at JoAnn Fabrics.

{I Do} It Myself Pillows!

25 Sep

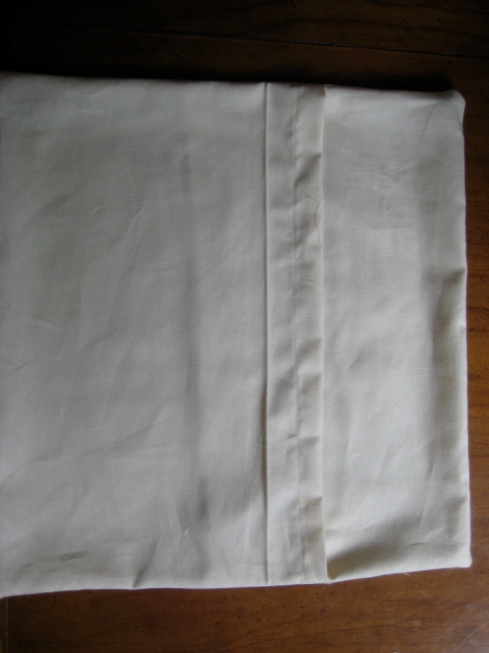
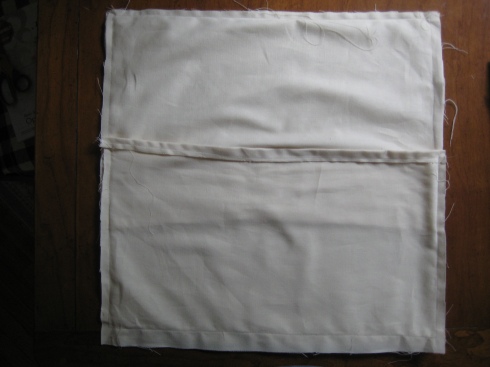
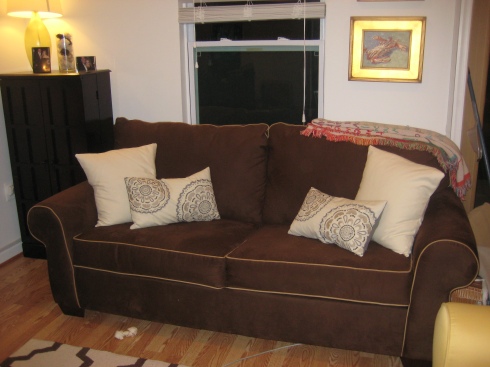
The Brother sewing machine has come in and I’ve spent the last week going sew crazy! I’ve wanted plain tan/beige pillows but in my search they were all over priced and I knew I could do it for less. So I headed to JoAnn fabrics and purchased standard canvas cotton fabric. For the pillows I did an open sleeve. Here are some photos of the process:

For a 18×18 Pillow follow this how to:

1. Cut a 20×20 square of fabric. Then cut a 23×23

2. Cut the 23×20 piece in to 13×20 and 10×20

3. Fold one end of the the 13×20 and of 10×20 one inch down.

4. Sew the folds on each piece.

5. Match up the ends of the larger piece of fabric (9×20) with the larger 20×20 piece. Sew along the three edges to seal.

6. Repeat step 5 with the 12×20 piece, creating the sleeve.

7. Flip the pillow cover right side out and put in your pillow insert.

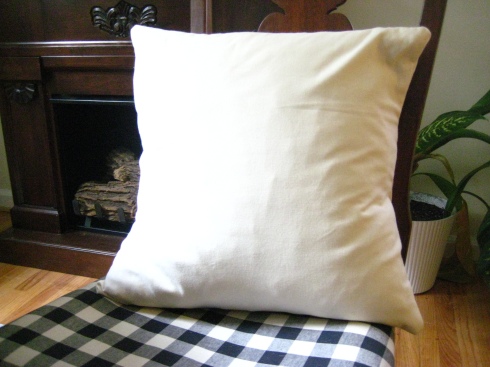
Finished product:

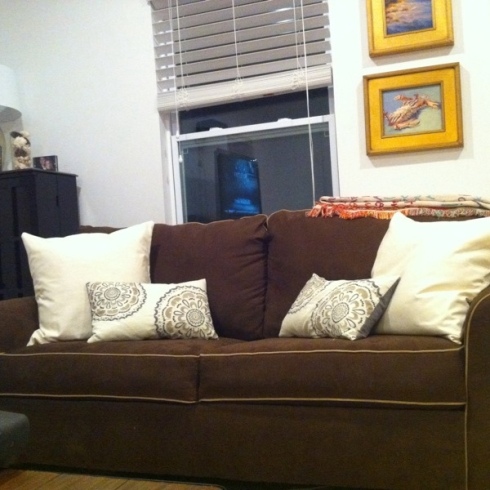
On the couch! (sorry about the terrible pic! When I was done the sun was down and natural light wasn’t an option)

Tan-Accent-Pillows
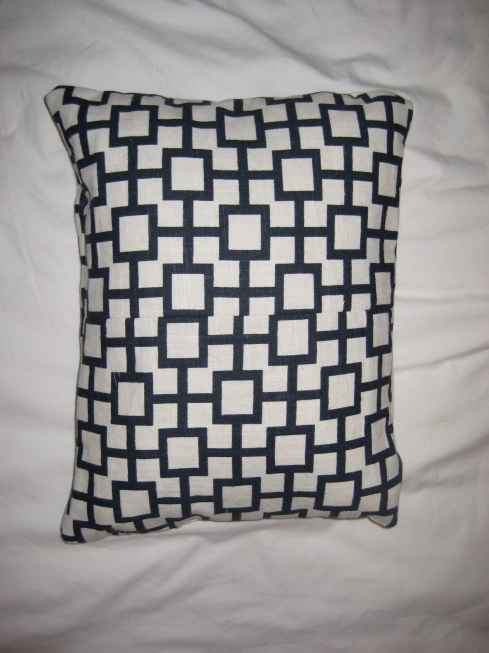
Next up is the gorgeous coffee table turned bench with matching pillow!
{I Do} Finding the Perfect Guest Bedroom Color Palette {Part II}

19 Sep

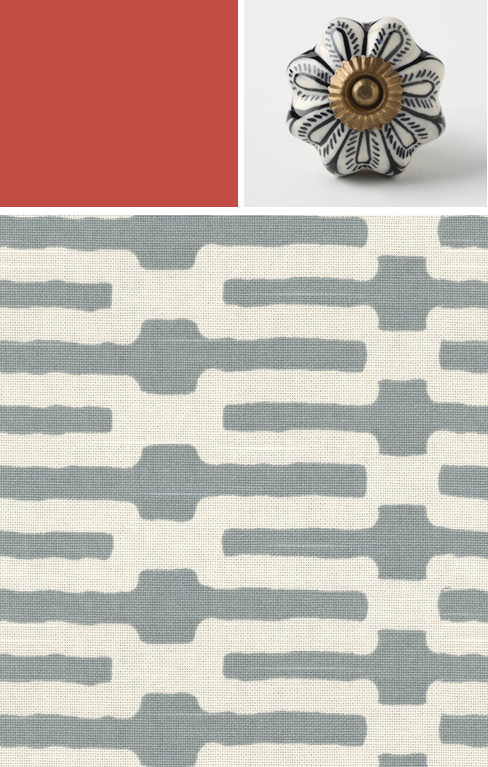
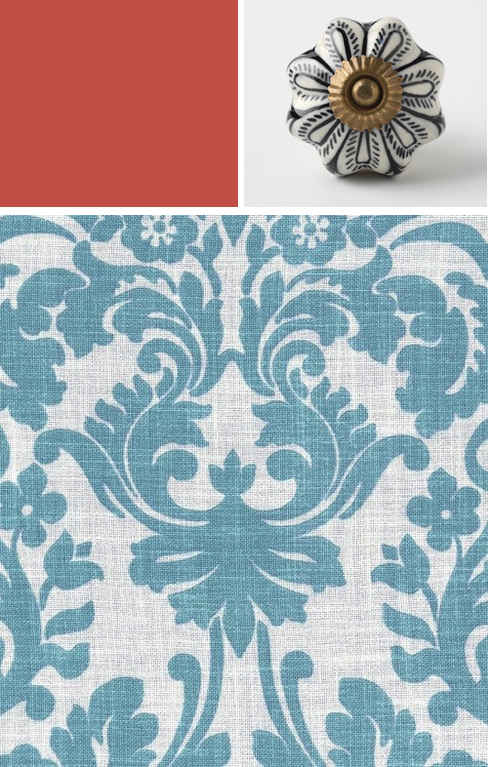
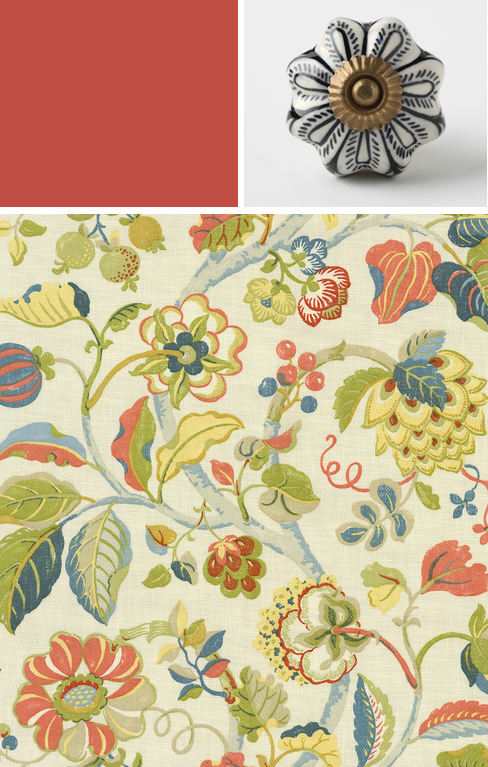
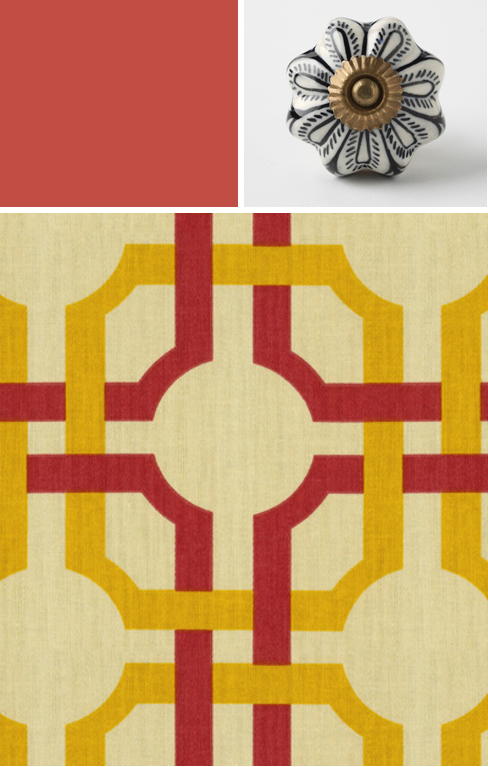
In case you missed the first part of this post, I’m deciding on a color palette and fabric pattern for our guest bedroom. Here are the others I’ve been thinking of doing, but these are going away from what I believe I want to do:

Fabric Name: Annie Selke Links Slate

Fabric Name: Waverly Harmonics Essence Sea

Fabric Name: Pkaufmann Sea Breeze Patriot

Fabric Name: Waverly Modern Essentials Fabric-Groovy Grill / Confetti